How do I automatically train on new files added to my Google Drive?
Introduction
In this KBA, we are going to cover how to create an automation using Zapier.
Instructional Video
Link to the video: LINK
Connecting Zapier to Google Drive
- Open Zapier under your automation page in the dashboard. You can also open this page by navigating to Dashboard -> Settings -> Automations -> Zapier.
- This will re-direct you to the Zapier page, continue by clicking on "Accept Invite & Build a Zap"
1. App Event
- Create a Zap by clicking on "Create" and "New Zap".
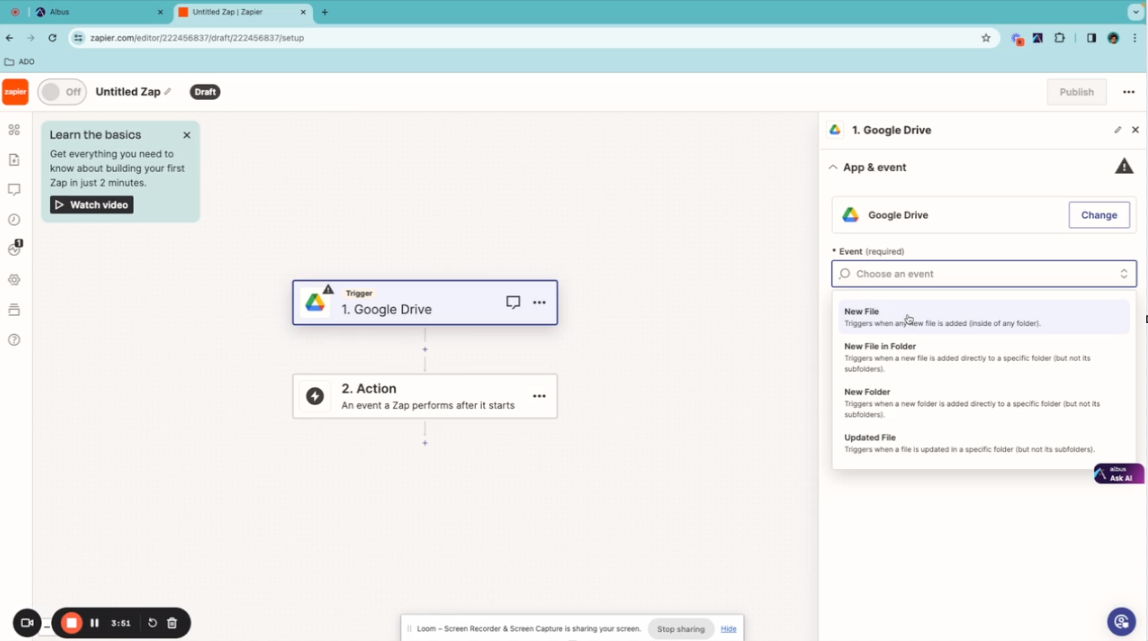
- Select "Trigger" and search for Google Drive.
- Select the desired event: either "New File" or "New File in Folder."
- Currently, we do not support the last two options for the event, these features will be supported in the future
- New Folder
- Updated File
2. Account
- To trigger an action in Chat Aid for every new file added to any folder in Google Drive, select "New File."
- In case you select the option "New File in Folder". There are two fields:
- Drive: Select "My Google Drive"
- Folder: Select the folder that you want Zapier to check for new files.
- Connect your Google account and continue.
3. Trigger & Test
- Choose "My Google Drive" from the drop-down menu.
- In case you have selected "New File in Folder", select the folder where Zapier can look for updates
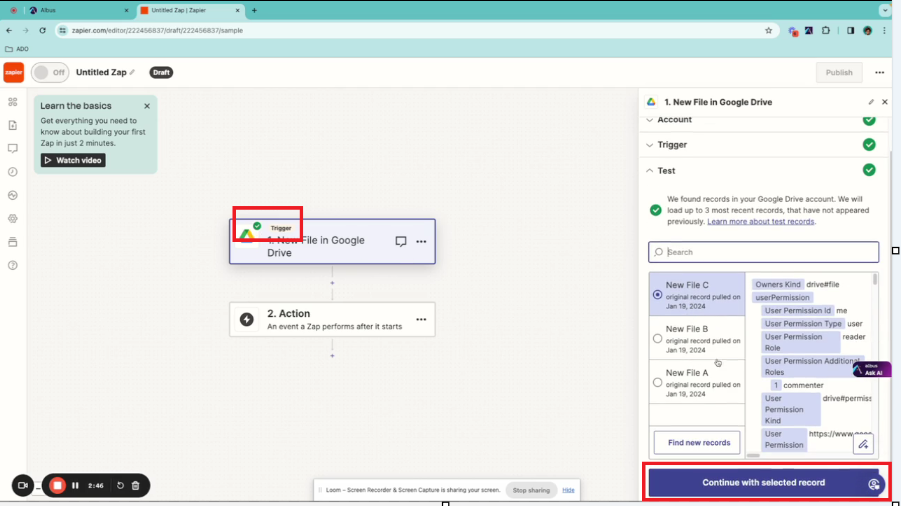
- Click on "Test Trigger" and continue with a selected record if any.
Please Note:
If the trigger is working correctly you will see the tick mark
Connecting Zapier to Google Drive:
- Click on Chat Aid (1.0.0)
1. App & Event
- Select the app Chat Aid (1.0.0)
- For the event, select "Train File". This event triggers an automatic training on the new file added in Google Drive.
2. Account
- You need to click on the Connect button and add the API key.
- To generate the API key: Navigate to your Dashboard and click on generate API key.
- Copy the key and paste it. Continue by clicking on "Yes, continue to Chat Aid (1.0.0)".

3. Action
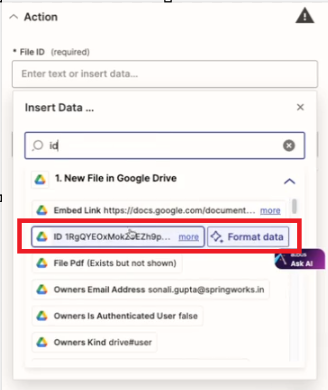
- Proceed by adding the File ID, this will show a drop-down of "Insert Data".
- We need to add the ID of the document which was added. This can be retrieved by searching for "ID" and selecting the option.
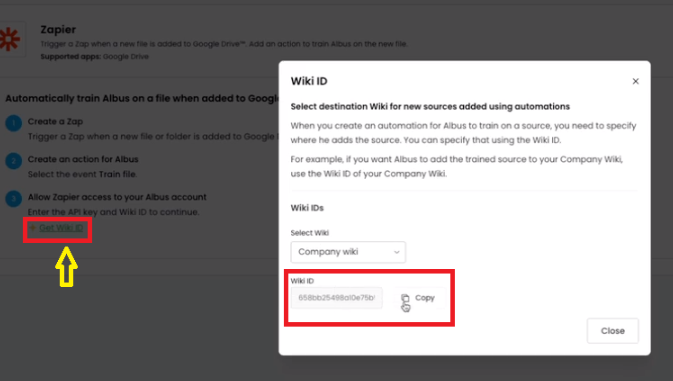
- For adding the wiki ID, please navigate to the automation page, and click on Zapier and +Get wiki ID.
- Paste the copied Wiki ID and click on continue.
- Wiki ID determines the destination of your trained files. When you create an automation for your Chat Aid to train on a source, you need to specify where he adds the source. This can be done using Wiki ID.
4. Test
- When you click on "Test Step", the file which was selected previously will get added as a source. If you would like to NOT add that file as a source, please do not test the file and skip the test. The Zap will run nonetheless once you publish it.
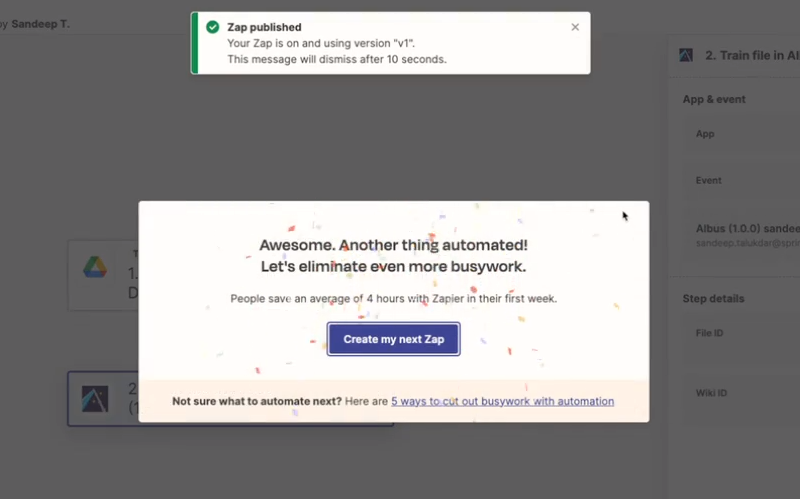
- Finally, click on "Publish" and the Zap will be live.
- Anytime a new file is added to your Google Drive, Chat Aid will automatically train on it based on the Zap you create.